
Recording an ABRSM Piano Performance Grade: From Playing to Submission
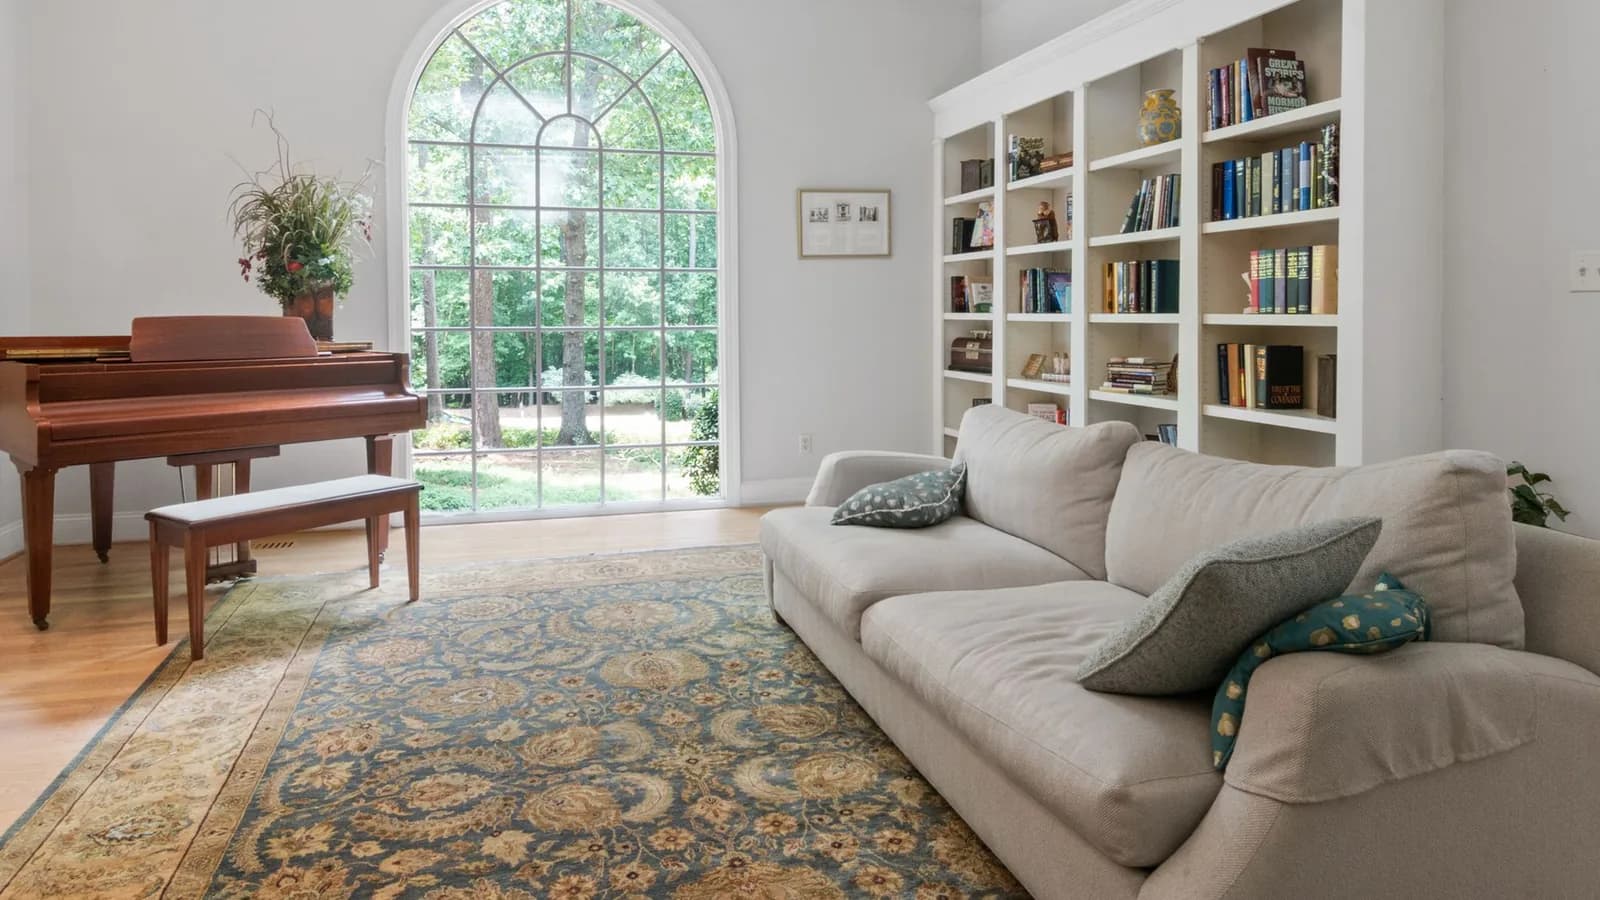
An ABRSM Piano Performance Grade is a complete four-piece performance submitted as a video. The recording needs to let the examiner see and hear your playing clearly, while the programme needs the shape and concentration of a small recital. Both deserve attention before the final take.
The most useful preparation falls into three parts:
- Prepare the four pieces as one programme, including the time between them.
- Test the picture and sound, then include the required introduction before playing.
- Review the actual file you will upload and match the online programme details to that performance.
This guide covers the recording and submission stage. For repertoire lists, own-choice requirements and syllabus overlap, start with choosing ABRSM piano exam pieces.
A performance with four characters
ABRSM awards marks for each piece and a further 30 out of 150 for the performance as a whole. The examiner hears how you sustain musical communication, interpretation and delivery across the programme. A recording assembled from the best version of each piece would lose precisely the continuous performance being assessed.
I would begin preparing that continuity before the pieces feel completely finished. Play two contrasting pieces in succession and listen to the change of character. After a light, quick piece, can you establish the breathing and weight of a slower melody? After a quiet ending, can you find the next opening without carrying its atmosphere into music that asks for something different?
The silence between pieces has a musical purpose. Let the last sound finish, release your attention from that piece and hear the next opening internally. This is different from rushing to avoid silence or remaining at the keyboard while mentally replaying the previous mistake. Practise the transition as part of making the next piece convincing.
Then try the complete programme. The final piece may reveal a concentration problem that never appears when you practise it first. That is useful information: you can work on the tired or distracted passage in context, instead of simply adding more repetitions of an already familiar opening.
The recording and the programme clock
Before playing: announcement, own-choice opening and required identification
Programme time: first note to final note
- Piece 1
- Piece 2
- Piece 3
- Piece 4
The gaps between pieces count too. Keep the recording running throughout.
One video contains the introduction and performance. Complete the programme form and declaration separately during submission.
The programme clock
For the syllabus programme limit, time from the first note of the first piece to the last note of the final piece, including the gaps between pieces. The introductory announcement sits before that musical programme. Check the maximum for your own grade in the applicable piano syllabus.
Time a realistic run, with the repeats and transitions you intend to use. A total made by adding four isolated practice timings can miss the time spent changing scores or settling into the next tempo. If you are close to the limit, review the programme and permitted repeat choices with your teacher. Speeding up a lyrical piece merely to save seconds changes the music you meant to communicate.
Programme preparation also includes the physical score. Arrange books in performance order, try awkward turns and establish where the next piece begins. These details should support the musical sequence; they become conspicuous mainly when they have never been tried during a complete run.
A useful camera view
The camera should stay fixed, with your face, instrument and music stand visible. For piano, the whole keyboard should be in the picture; include pedals where applicable and possible. A view from one side often gives a useful starting point, but test your own room and instrument.
What the camera should include
- 1. Face
Keep your face visible throughout, including in profile.
- 2. Keyboard, instrument and stand
Include the full keyboard; test movement to both ends.
- 3. Pedals
Include them where applicable and possible.
Watch a short test on a larger screen if one is available. Check both extremes of the keyboard by actually playing there. A frame that looks generous while your hands rest near middle C may hide a hand when the music reaches the bass or treble. Your face should remain visible when you look at the score.
Avoid bright light directly behind you. If the camera exposes for a window, your face and hands can become dark even though the room feels bright. A small change in camera direction, curtains or room lighting can matter more than buying another device. Keep the stand stable and separate from surfaces that vibrate when you play.
Most recent phones or tablets can make a suitable recording. ABRSM recommends 720p; the accepted video formats are MP4, MOV and MPG, with a maximum file size of 2GB. Check the recording settings before the long take, including storage, battery and distracting notifications. More detailed equipment advice is in the home piano audition recording guide.
Sound that preserves the music
Test the loudest passage and a genuinely quiet one. A few medium-volume notes can sound acceptable while a full chord later distorts. Listen for the attack and decay of the loud notes, then for whether the quiet melody remains audible above room noise.
If the loud passage sounds harsh or crackles in the recording, try moving the device farther from the instrument and test again. On a device with manual input level, leave headroom for the strongest sound you will actually play. Keep the musical dynamics intact while adjusting the recording arrangement.
For a digital piano, check what the camera is hearing. Headphones may leave it recording mostly key movement; built-in speakers that sound pleasant from the bench may be faint from across the room. Listen to the test file, rather than trusting what you heard while playing. Avoid adding artificial reverb or other processing afterwards to make the submitted performance sound more impressive.
I listen especially for the relationship between melody and accompaniment in a test. If the recording turns a carefully voiced passage into a flat wash of sound, the examiner will receive that wash. Solve the placement or level problem before making your final musical choices under the pressure of recording.
The introduction and identification
Before playing, announce your name, instrument and grade, followed by the pieces in performance order, with composers and relevant syllabus list numbers. Show the opening of the own-choice score clearly, including its title, opening notation and performance markings. Rehearse bringing the page into focus; moving it past the lens quickly gives the camera little chance to settle.
For Grades 6–8, show an accepted photo ID close to the camera for at least ten seconds, then show your face for ten seconds. Check ABRSM’s current Candidate Identification Policy for accepted documents. Take a short test of this part too: a visible rectangle is not enough if the photograph is blurred or washed out by reflected light.
The programme information is entered online during submission. Older instructions about displaying a paper programme form predate the current system. Have the exact titles and list details ready, so the announcement and online form describe the same programme.
Candidates under 18 need a responsible adult present throughout the recording; that adult also makes the submission declaration. Agree who will handle the device and the introductory information beforehand. During the performance, nobody should coach or direct the playing.
One continuous take
Keep recording through all four pieces and the spaces between them. Do not pause the camera between pieces, replace a passage or combine different takes. The aim is to capture the performance you give from beginning to end.
A small wrong note is a musical event to respond to while continuing. In practice runs, notice whether you can retain the pulse and the phrase after it. Repeatedly stopping as soon as something goes wrong trains a different response from the one needed in a complete performance.
This does not mean keeping every take. You may decide to make another complete recording before submission. First identify why: an equipment failure, a substantial breakdown or a musical issue that you can work on. Taking a break and repairing a particular problem usually has more purpose than immediately playing the entire programme again with mounting frustration.
ABRSM allows a small edit to the introductory section solely to add missing information. That exception does not permit editing the performance itself. If an omission creates uncertainty about your own video, use the board’s current guidance before submitting it.
Choosing the recording
Watch and listen to each serious candidate take in full. A memory of the one uncomfortable bar can dominate your judgement, while the rest of that performance may have had a more natural pulse and stronger character than a supposedly cleaner version.
Compare whole musical qualities: the line of the slow piece, clarity in the quicker texture, the character of each opening and the concentration carried to the end. Write down the particular passages that distinguish the takes. Our guide to listening to your piano recording develops this kind of focused listening.
Separate a playing question from a recording fault. An untidy release belongs to the performance; a missing audio channel or a frozen picture belongs to the file. The latter needs resolving before upload, even if you remember the playing as excellent. Review on ordinary playback equipment, with enough attention to hear both quiet and loud passages.
The file and the upload
Keep the chosen original file and give it a simple name using letters, numbers, underscores or dashes, such as Piano_Grade5_Final.mp4. If compression is needed, preserve the complete performance and watch the resulting file from beginning to end. Check that the sound and image still match, especially near the finish.
Upload the file through your ABRSM account. Enter the pieces in the order performed, identify the own-choice piece and select the applicable syllabus. The submission declaration confirms that the recording follows the exam rules. Select the intended file carefully: the upload is not a space for submitting several alternatives for the examiner to choose between.
Booking opens a 28-day submission window. Follow the exact date and time shown in the booking, and leave time for a slow upload or a failed connection. Keep the confirmation that the submission completed; a file selected on your computer is not yet a submitted exam.
The exam recording is for assessment and must not be posted to YouTube, social media or a file-sharing site. ABRSM permits sharing during recording and submission with people directly involved, such as the teacher or applicant. A separate public performance video is a different project.
A review sheet for your recording
Use one page to review the musical performance and the submission details, with space for the chosen filename, programme time and deadline.
Download the recording review sheet (PDF, one page)A well-prepared recording allows the practical details to recede. What remains is the sequence of music: four pieces with distinct voices, a clear sense of direction and a performer who stays engaged through the final sound.