
How to Make a Clear Piano Audition Recording at Home
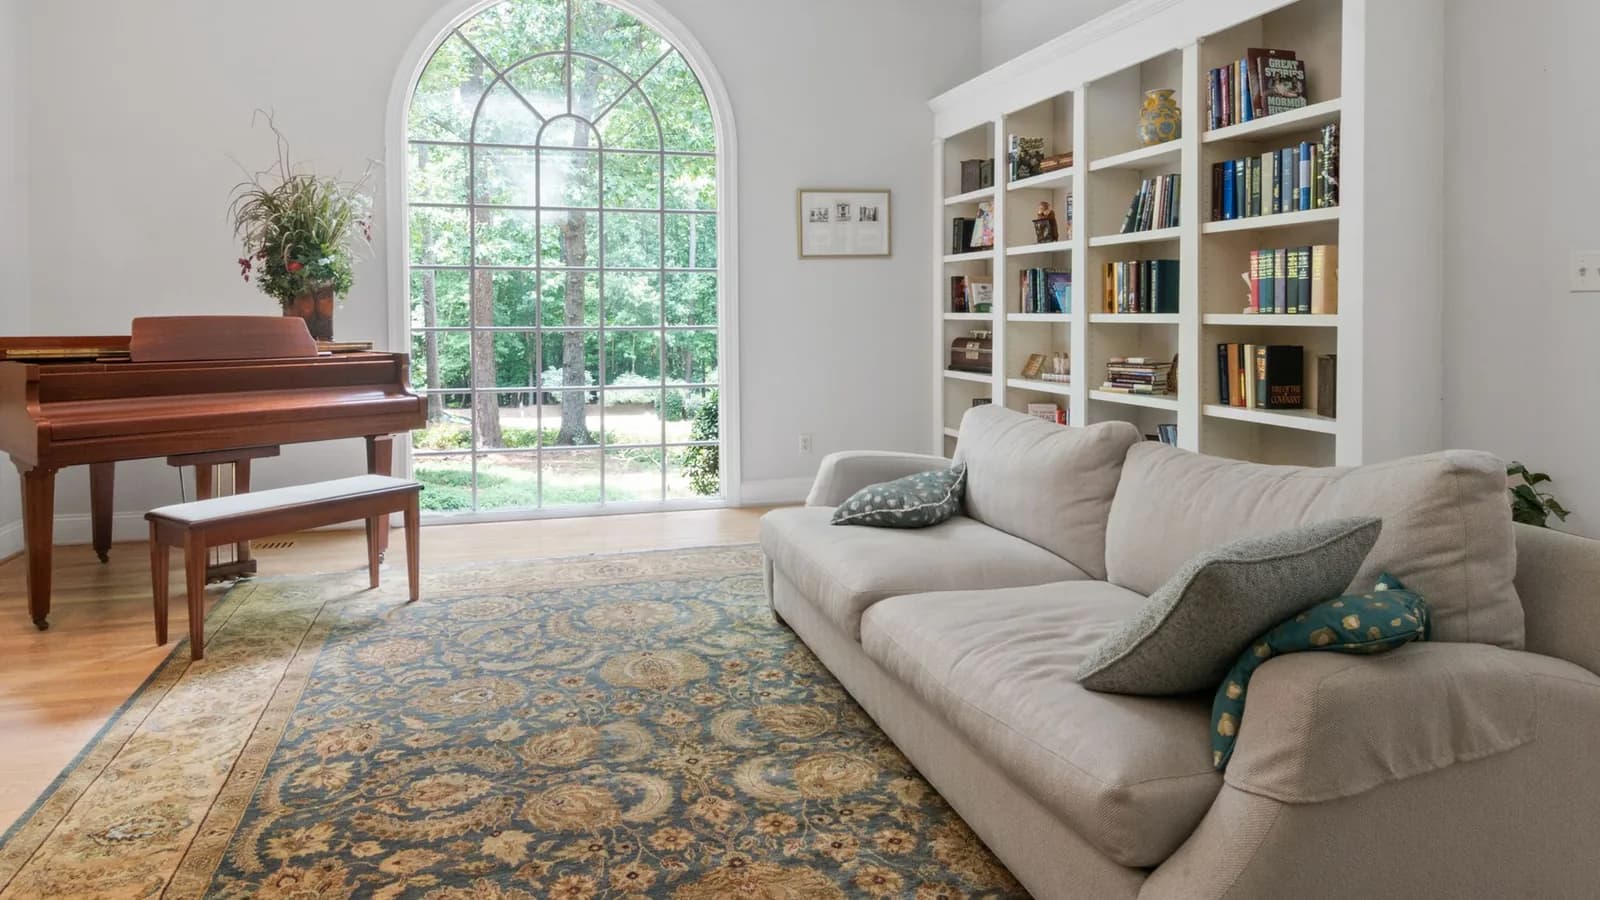
A clear piano audition recording lets a panel hear your tone, rhythm, balance and phrasing without struggling against distortion or room noise. Start with the receiving institution's rules, use a stable camera position, and test the loudest and quietest parts of your programme before recording complete takes. A phone may be sufficient for some applications; others require separate audio and video or more specific recording arrangements.
The most useful preparation is learning what your equipment actually captures. The sound at the piano bench can differ considerably from the recording. A melody that feels prominent under your right hand may disappear behind the bass; a room that feels pleasantly resonant may obscure an important release. Those differences deserve attention before you spend an afternoon recording your best playing.
This guide concerns recordings submitted for an audition or preliminary selection. A live video lesson has different demands, particularly around conversation and the internet connection; those are covered in our online piano lesson setup guide.
Let the audition requirements determine the recording
Open the instructions for your exact course, instrument, application year and audition route. General admissions pages may describe several routes together, while the piano department specifies repertoire, memorisation or what must remain visible. Resolve any disagreement with admissions before choosing a setup.
Three official examples, checked on 17 September 2026, show why there is no universal recording recipe. The Leeds International Piano Competition's 2027 pre-selection guidance asks for an audio file and a simultaneous fixed-camera video of the same continuous performance, with no spoken introduction. It also asks for a recording supervisor's details. The Royal Academy of Music's general guidance requests a spoken introduction and says that continuous or separate performance recordings depend on the course. Its submissions go directly to Acceptd rather than through external video links.
The College of New Jersey's piano page, meanwhile, describes a side view showing the upper body and hands, an empty music stand in view, and unedited recordings shared through accessible cloud links. These are examples of different requirements, not interchangeable instructions. Links to the exact pages are in the small sources section below.
Look particularly closely at what continuous means for your application: one movement, one work, or the entire programme. Also establish whether a separate audio track is permitted, whether any trimming is allowed, which instrument is acceptable, and whether there are recording-date restrictions. A beautifully captured performance cannot answer a requirement that was missed before the camera started.
Choose the room for what it lets the listener hear
Begin with an instrument you can play comfortably and that meets the audition rules. Check its tuning and obvious mechanical problems before the session. A sticking key, unreliable pedal or persistent rattle can keep interrupting both the performance and your concentration. If the home piano cannot meet the requirements, arrange access to a suitable instrument early enough to become familiar with it.
A furnished living room can be workable. Listen to how a short chord ends: does the sound settle naturally, or does a bright wash hang over the next harmony? Rugs, curtains and upholstered furniture can soften reflections, but adding more soft material is not automatically better. The aim is enough definition to hear articulation alongside enough resonance for the piano to sound alive.
Listen from the proposed recording position as well as the bench. If someone can play a passage while you move around the room, compare what happens to the bass, the middle register and the upper melody. Otherwise, short recordings from a few positions reveal more than judging the room while playing. Keep the passage and your playing as similar as possible, so the comparison concerns the position.
Background sound matters most in quiet music and after the last chord. Record a little room silence: a refrigerator hum, a ticking clock or traffic may become obvious through headphones. Choose a quieter time and remove avoidable noise before the take. Leave necessary ventilation or other essential equipment alone; a workable room is more useful than an uncomfortable session spent trying to eliminate every trace of ordinary life.

One-to-one classical piano
Beginner to advanced. Online, worldwide.
Enea
Concert pianist from Vienna
30 minutes · Tokyo studio from October 2026
Decide how the sound will reach the recording
If the application accepts a straightforward video, begin by testing the device you already have. TCNJ explicitly allows a typical smartphone or computer camera and microphone for its piano recordings. That does not establish that every device will capture every piano well. Listen to the actual result before deciding that you need different equipment.
There are three common arrangements: a phone or camera recording picture and sound together; an external microphone connected to that recording device; or a camera and separate audio recorder capturing the same performance. The third arrangement introduces two files and possible synchronisation work. Use it only when the receiving institution permits or requests it, and establish the permitted submission method beforehand.
Connections deserve a trial of their own. A USB microphone, an XLR microphone and a headset microphone do not connect in the same way. An XLR microphone generally needs an audio interface; a phone may need a compatible adapter and sufficient power. More equipment also means more opportunities to record the wrong input. Check the device selected in the recording app and listen to a short test made through the complete arrangement.
Some devices or apps automatically change gain or apply speech processing. If those controls are available, investigate a setting that preserves musical dynamics, then test it. Do not assume that a mode labelled “music” has solved the problem. Listen for quiet notes being unnaturally lifted or the background swelling after a loud chord.
For a digital piano, first confirm that the instrument is accepted. MIDI stores performance instructions rather than the sound itself, while a direct audio connection can bypass the room and built-in speakers. Neither is automatically an acceptable audition submission. Avoid replacing the recorded piano with another sound or processing it to disguise the original performance. The institution's recording-integrity rules govern what can be submitted.
Give the camera a clear view and the microphone a balanced sound
A slightly oblique side view is a useful starting point for piano video because it can show the player's profile, arms and hands together. Sit at your normal height and play across the full range required by the programme. Check that the far hand remains visible during crossings and that neither the music desk nor the piano rim obscures important movement. Include pedals or feet wherever the rules require them.
Frame the shot in the required orientation; landscape is commonly requested. Place the camera on a secure support independent of the piano, where it will not vibrate with playing or obstruct your movement. Leave enough space around the player for normal musical movement. A close shot of beautiful hands can be less useful to an examiner than a simple view of the whole required area.
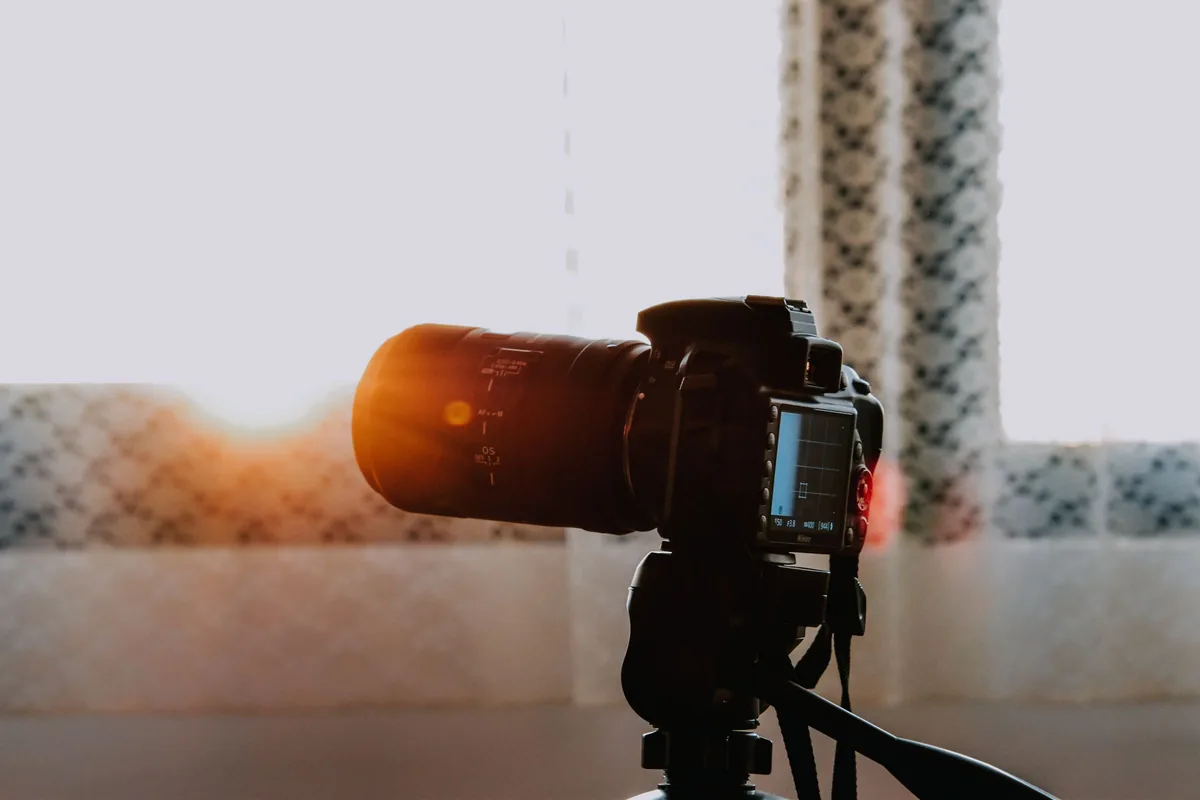
An independent support keeps the camera position steady. The photograph illustrates tripod support, not an audition camera angle or a recommended camera model.
Light the player from the front or side where possible. A bright window behind the piano can leave the face and hands in shadow. Once seated, inspect the recorded image rather than the empty room: focus or exposure may change when a person enters the frame. Avoid camera movements and zoom changes during a take unless the audition instructions expressly call for them.
Microphone placement answers a different question. With a grand piano, a position outside the open side can allow the instrument's registers to blend before reaching the microphone. Moving very close to the hammers emphasises attack; moving away introduces more of the room. Shure's placement guidance explains why positions near different string areas can favour different registers. For a single microphone, listen for a convincing whole piano rather than an impressive isolated bass or treble.
An upright presents a different sound source. Try positions in front of the instrument and, if the piano permits it, with the top lid open; compare the sound before deciding. Keep stands and cables clear of the keyboard, pedals and your movement. A phone recording both picture and sound has to satisfy both jobs from one position. If the best picture gives poor sound, try a modest change in angle or distance before adding equipment. A separately connected microphone can provide more freedom, where permitted.
Leave room for the loudest music
Recording gain controls the level entering the recording system. Playback volume controls how loudly you hear the result afterwards. Turning down your headphones will not remove distortion already captured in a file.
Clipping occurs when a signal exceeds the level a stage of the recording system can handle. In ordinary digital recording, the available peak range has a ceiling; above it, the shape of the signal is cut off. Loud chords may acquire a brittle edge or crackle that was not present in the room. A waveform display can help identify this, although distortion can also occur earlier in the microphone or input hardware.
When a signal exceeds the available range, its peaks are cut off. Making the file quieter afterwards does not restore their shape.
Space below the limit
The strongest peaks have room to grow without reaching the dashed limits.
Input too high
The flat peaks show information lost at overload. Reduce the input before recording again.
Conceptual waveforms, not piano recordings or measured test results. Real piano waveforms are more complex.
Set the level using a forceful passage from the actual programme, with the pedal and texture you will use in the take. Testing one isolated note at medium volume tells you little about a full bass chord under a climactic melody. If manual gain is available, leave visible space below the recording meter's maximum. The Leeds guidance suggests peaks around −6 dB as a practical starting point; it is not a universal guarantee against overload.
If your app gives no meaningful level control, try moving the device farther from the instrument and record the same passage again. If you can control gain, lower it before the next test. Listen as well as watching the meter: input distortion may already have happened before a later meter shows the signal. Avoid trying to rescue a clipped audition with repair effects. A fresh, clean take preserves the original performance more reliably.
Then check the quiet end of the programme. A recording can protect every loud chord yet leave a soft melody buried in hiss or room noise. The solution may be a quieter room, a better position or a more suitable input arrangement. It should not be to play all the pianissimo passages louder merely to compensate for an unsuitable setup.
Use a musical test, not just a sound check
Choose a short selection that challenges the setup in different ways: a quiet melody over accompaniment, a loud passage using both ends of the keyboard, and a cadence whose resonance matters. Include enough context to hear the phrase. These passages test whether the recording preserves the musical relationships you have worked on, rather than merely proving that sound reaches the microphone.
For the quiet passage, follow the melody without looking at the score. Can you hear its direction through the accompaniment? Listen to the beginnings of soft notes as well as their sustain. If every note speaks but the phrase seems flat, that is a different issue from notes disappearing into background noise.
At the climax, listen for a clean attack and a recognisable difference from the preceding dynamic. Loudness alone is not the aim: the harmony, rhythm and leading voice should remain intelligible. If the recording suddenly sounds smaller or seems to pull the volume down, investigate automatic processing. If the bass overwhelms everything throughout, compare microphone positions before assuming that your left hand is always too strong.
At the cadence, listen past the last attack. Can you hear the release of the keys and pedal, and the sound decaying afterwards? An abrupt electronic cutoff can spoil an ending even when the playing is carefully controlled. A long, indistinct wash may come from the room, pedalling or both. Comparing a short passage with and without pedal can help you hear what each contributes; it does not mean submitting a version without the musically appropriate pedal.
Two hypothetical comparisons show how listening can separate capture problems from musical ones.
- The microphone position changes the result
A soft melody is lost beside the bass strings but becomes clear from a more balanced position, with similar playing.
Placement is contributing to the imbalance. Keep the clearer position and test a fuller passage.
- The same musical problem persists
The melody disappears under one chord in several recordings, and a listener in the room notices the same thing.
That chord deserves musical attention too. Compare the voices at the piano rather than repeatedly moving the microphone.
Both causes can occur together. These comparisons guide listening; they do not diagnose an unseen recording.
Listen back at a comfortable, consistent headphone volume. When comparing positions, avoid choosing a sample simply because it plays louder. Make one meaningful change, keep the same passage, and listen again. This is a short investigation before the session, not something to repeat between every full take. Once the setup is dependable, leave it alone and put your attention back into the music. Our guide to listening to your own piano recording develops the separate task of using playback to improve the performance.
Record complete performances while your attention is fresh
Practise making a complete recording before the day you intend to submit one. The unfamiliar part is often continuing when you know that every hesitation is being captured. A good rehearsal lets you experience the opening, transitions and ending as one musical event, including the places where you normally stop during practice.
Choose a time when you can concentrate, and allow enough time for warming up and listening back without pressure. Charge the equipment, make room for the required files, and test that it can record for the programme's full duration. Silence notifications and avoid incoming calls interrupting the device. If using airplane mode, check that it does not disable a connection your recording arrangement needs.
Once recording begins, take a moment to settle at the keyboard. Hear the opening pulse and character before playing. At the end, remain with the sound until the resonance has finished, then stop the recording. Handle any spoken introduction or identification exactly as required; remember that the institutions cited earlier ask for different things.
During the performance, give an isolated slip its proper musical size. An immediate restart can prevent you from finding out whether the rest of the take has direction and character. Afterwards, decide whether the complete performance represents your preparation. A wrong note, a lost phrase and a major memory interruption are different musical events; a take count cannot tell you which version communicates best.
Repeated attempts can become less useful once listening turns into searching for reasons to start again. If fatigue or frustration is changing the playing, pause and return when you can hear the music more clearly. The preparation ideas in our online recital guide can help with playing through for an audience, while the audition's own rules determine which complete recording you may submit.
Check the file that the panel will actually receive
Preserve the original recording before preparing any permitted submission copy. Keep another copy in a separate location, and name your working takes so that you can identify the date, work and version without opening every file. For the submitted file, use the institution's exact naming instructions. Do not add personal details to a public filename simply because another competition requests them privately.
An unedited-performance requirement rules out assembling different attempts into one apparent take. Permission to record works separately does not automatically permit cutting within a work, replacing notes, altering timing or adding reverberation. Even an apparently harmless trim should follow the instructions. Where separate sound and picture are allowed, they must represent the same performance; check alignment near both the beginning and end so that hands and sound remain together.
Use the requested file type and technical settings. Increasing resolution beyond what is needed can create a larger file without making the performance easier to assess. If a submission copy is required, watch and listen to that copy from start to finish. Check for missing sound, a cut-off ending, frozen picture or an export that accidentally includes only part of the programme.
Leave time for uploading and processing before the deadline, including its stated time zone. A finished upload is not necessarily a finished application. Preview the submitted material and complete any final submission step. If links are permitted, open them without your own account signed in and check that the panel can play the whole recording. If direct upload is required, a perfectly working cloud link will not substitute for it.
Before sending, four final questions are enough:
- Does this contain the exact programme and recording format requested for this application?
- Can the panel clearly see the required view and hear the quiet music, climax and ending?
- Is this the intended complete take, with only changes explicitly permitted by the rules?
- Have the files or permitted links been checked, submitted successfully and backed up?
The technical preparation has done its job when the recording lets a listener follow the music easily. Return to the interpretation you want to share: the character of the opening, the relationship between voices, and where each phrase is going. Those are the reasons to make the recording clear.
Vienna Piano School offers piano preparation for auditions, competitions and demanding repertoire through Enea's teaching. Online lessons are available now; in-person lessons in Tokyo begin in October 2026. To discuss the playing you are preparing, request a free 30-minute trial lesson and include your destination, programme and deadline. Feedback on musical preparation belongs within the lesson; the receiving institution remains the authority on submission rules.