
The Best Setup for Online Piano Lessons: Camera, Microphone, and Piano
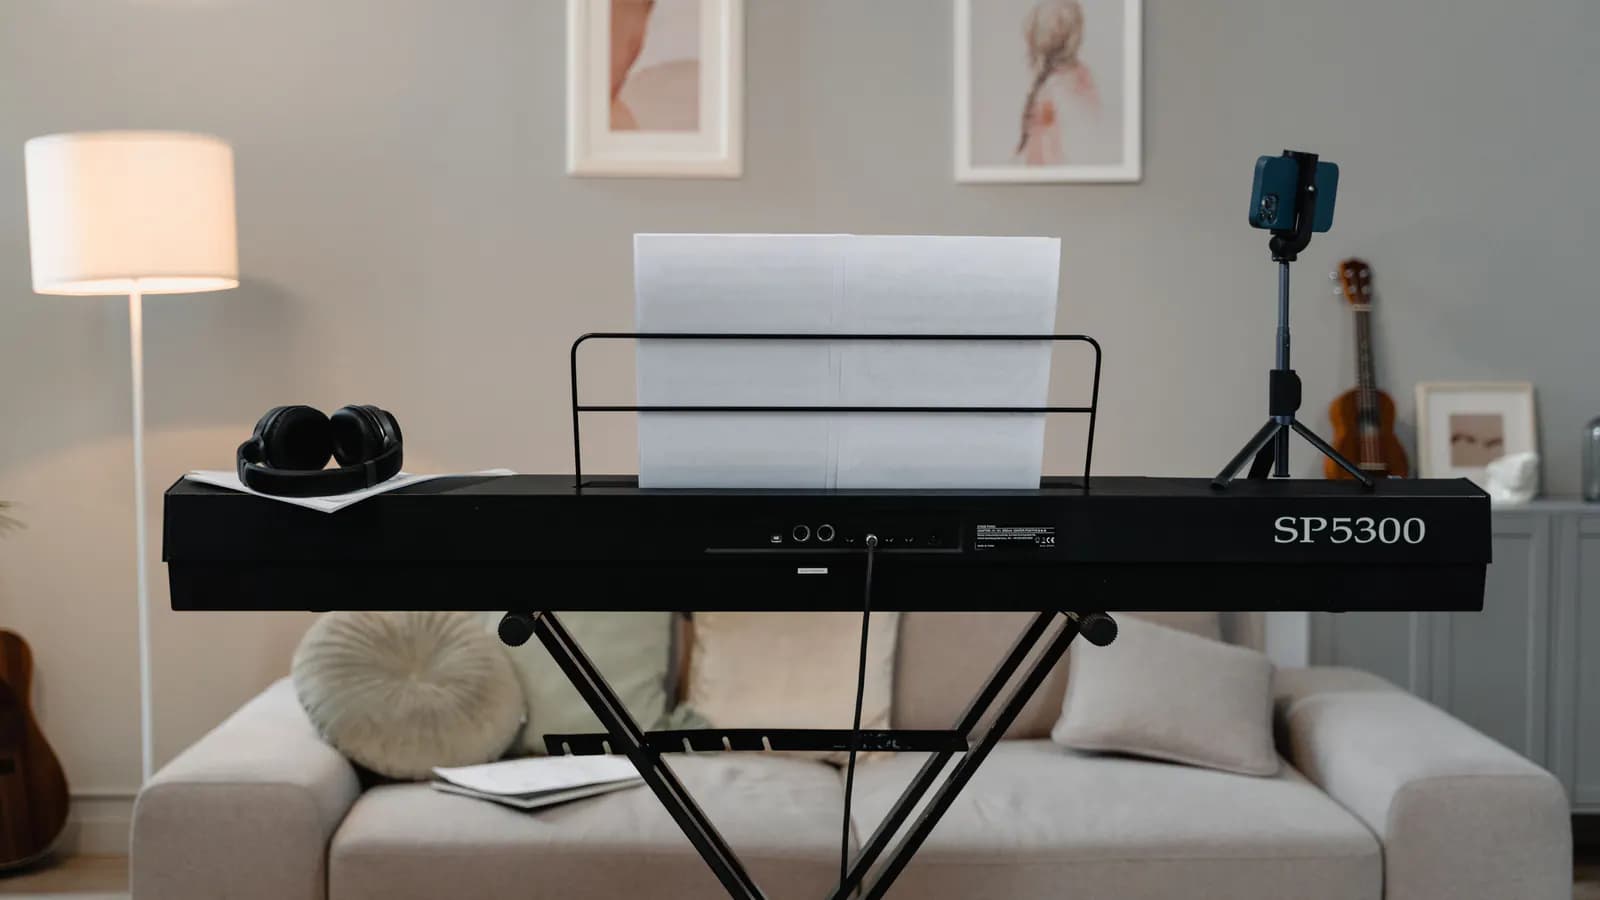
The most useful setup for an online piano lesson is usually simple: one stable phone, tablet, or laptop at the side of the piano; a view that includes the hands, wrists, forearms, and part of the upper body; a microphone that carries both speech and the instrument; and a connection tested from the piano bench. You do not need to buy a camera, microphone, or audio interface before your first lesson.
Good equipment helps only when it solves a problem that is actually present. A sharper camera does not help if it is pointed at the player's face. An expensive microphone does not help if the call software removes sustained notes as background noise. Test what you already own, then upgrade the part that limits what the teacher can see or hear.
If you would first like to understand how the call itself is used for teaching, read what actually happens in an online classical piano lesson. This guide concentrates on the student-side setup.
Start with one stable side view
Place the main camera near one end of the keyboard, slightly above key level and far enough back to see more than the fingers. The frame should normally include:
- both hands across the part of the keyboard you are using;
- the wrists and most of the forearms;
- enough of the upper body to show the relationship between the arms, torso, and bench; and
- the pedal area when pedaling is part of the question, either in the same frame or in a separate view.
The teacher does not need a portrait-sized view of your face. Seeing some of the face can make conversation easier, but the instrument and movement should have priority. A tightly cropped view of the keys may show which notes are played while hiding the movement that produced them.
A laptop can work if the screen opens to a useful angle and the device can be placed safely. A phone or tablet often gives more freedom on a small stand. Stability matters more than camera specifications. Do not balance a device on loose books, a stand that sways, or the piano lid where vibration can move it.
Record ten seconds from the camera position. Play across the passage and use the pedal. If a hand, elbow, or foot leaves the frame when it matters, move the device farther back.
Add a second camera only when it answers another question
One clear side view is enough for many lessons. A second device becomes useful when a different angle supplies information the first cannot show. For example, the main camera might show the overall relationship between the player and instrument, while a phone above or beyond the keyboard gives a closer view of fingering and lateral movement.
Every extra view adds charging, placement, switching, and connection demands. Let a musical or technical question justify the second.
If two devices join the same call in one room, only one should handle sound. On the second device, disconnect or decline audio rather than merely muting its microphone. Zoom's echo guidance notes that muting alone leaves the second speaker active. The second device is then simply another camera.

One-to-one classical piano
In person in Ikebukuro or Shinjuku, Tokyo. Online worldwide.
Enea
Concert pianist from Vienna
Pre-launch · Applications open
Fix the call settings before buying a microphone
Video-call software is normally optimized for speech. A held piano note, room resonance, or a wide change from soft to loud playing may be treated as unwanted sound. The result can be missing sustain, a sound that pulses in and out, or loud passages that become strangely flat.
Current platforms offer settings intended for music:
- Zoom: choose Original sound for musicians under the audio microphone modes. Zoom says this removes audio filters so the microphone can capture more of an instrument's range. Its separate High-fidelity music mode requires a professional audio interface, microphone, and headphones, so it is not the default starting point.
- Microsoft Teams: turn on High fidelity music mode when the piano is the sound you need to transmit.
- Google Meet: turn off noise cancellation when it is filtering the instrument. Google specifically recommends disabling the feature for non-speech sounds such as music.
Use the platform's test feature before the lesson. Zoom can replay the selected microphone, and Google Meet provides a pre-call check. Test from the bench, not with the device held near your mouth.
Play a short sequence that includes speech, soft notes, loud chords, low notes, high notes, and a sustained pedal sound. This is more revealing than saying “test, test” into the microphone. If each part remains recognizable, the built-in microphone may already be adequate.
Built-in and external microphones
You do not need an external microphone to begin. Keep the built-in one when it carries speech, the beginning and end of notes, dynamic changes, and musical balance clearly enough to work.
An external microphone becomes sensible when the test identifies a persistent limitation. Common signs include loud chords distorting, quiet playing disappearing, the piano overwhelming speech, or the sound changing sharply whenever you move. First check the call settings and device position. If the problem remains, a microphone or audio interface may be the appropriate next upgrade.
Microphone placement changes the balance and attack of an acoustic piano, and no single position suits every room and instrument. Begin with a natural room position rather than a close-miking plan made for studio recording. Move the device, repeat the same passage, and compare the call recordings.
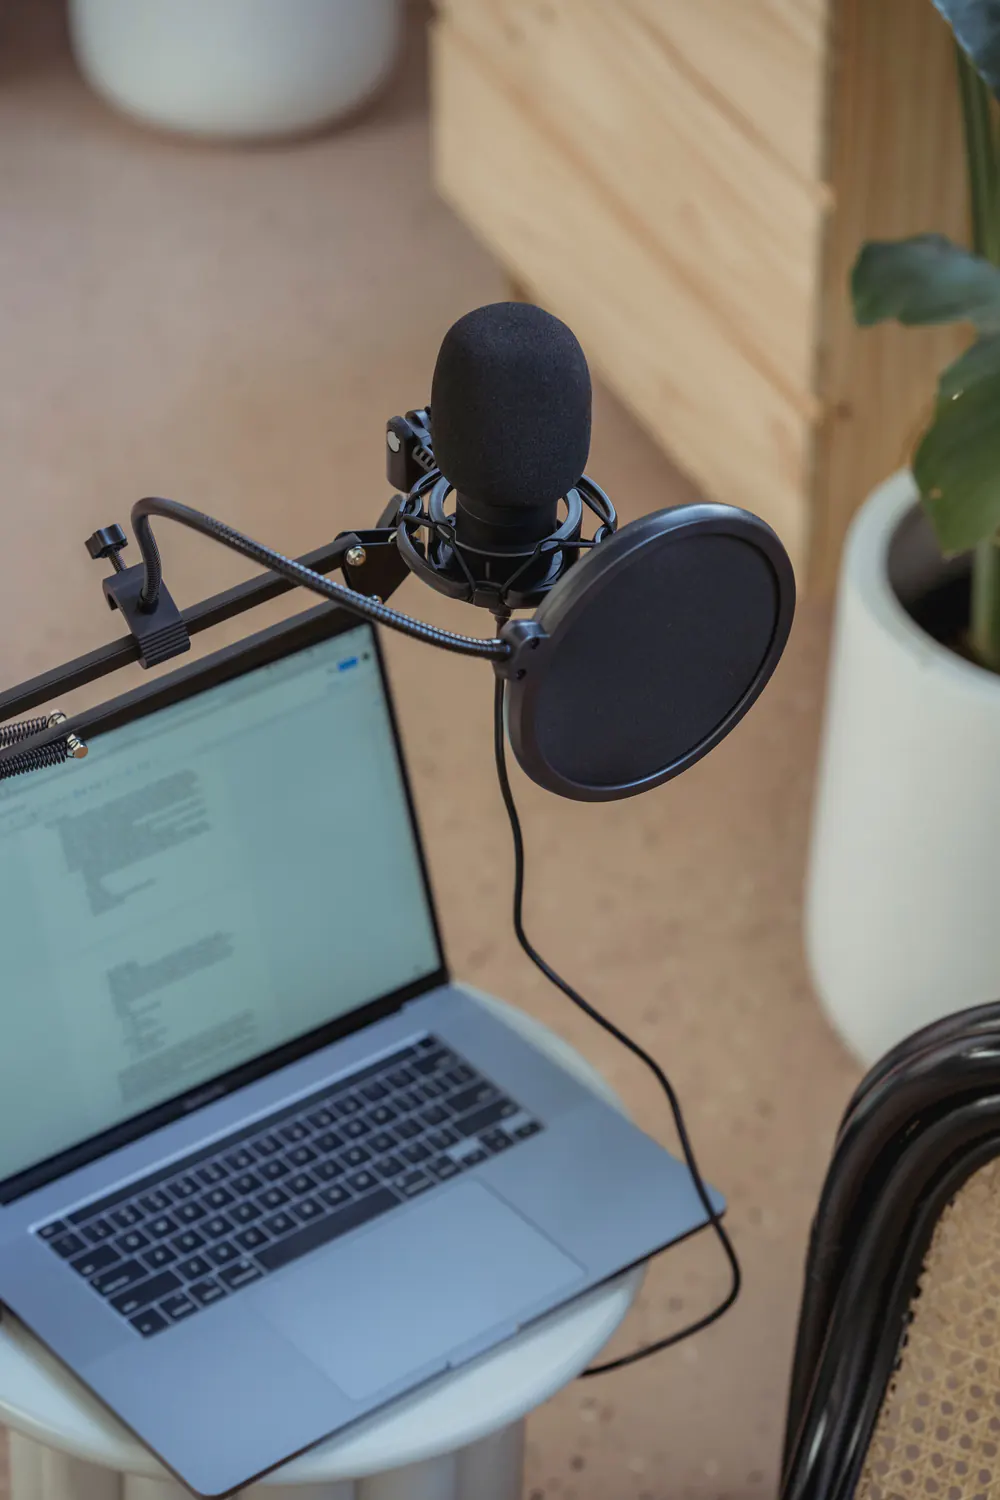
Before adding a microphone, identify the sound problem it needs to solve. Photo: George Milton / Pexels.
Acoustic and digital pianos need different signal paths
For an acoustic piano, the simplest route is the room microphone in the phone, tablet, or laptop. Nothing connects to the instrument. Position and software settings determine what the teacher hears.
For a digital piano, playing through its speakers is the simplest first setup. The call device hears the piano and your voice through the same microphone, just as it would with an acoustic instrument.
Silent playing through headphones needs more thought. The instrument's audio must be routed into the call, perhaps through model-supported USB audio or an audio output and interface. Check the manual before buying a cable. Yamaha's connection guide, for example, makes clear that a USB port does not automatically send audio.
MIDI is also not the same as sound. The MIDI Association defines MIDI as messages about a performance, such as which note was played and how strongly. Those messages can control software, but they are not the piano's audio. A direct digital-piano setup must still send actual audio to the call, and it must leave a way for the teacher to hear your voice. That is often an advanced setup, not the easiest way to begin.
Headphones, lighting, power, and connection
Headphones can prevent echo and make the teacher easier to hear, especially when advanced music settings reduce echo cancellation. They are optional when a basic speaker-and-microphone test works cleanly. Wired headphones avoid adding another battery and wireless connection to monitor.
Put the main light in front of or beside the player so it falls across the hands and keyboard. A bright window directly behind the piano can turn the important part of the frame into a silhouette. Ordinary room lighting is often enough once its direction is corrected.
Test the internet connection from the piano's actual location. If sound drops or video repeatedly freezes, Zoom recommends moving closer to the router or trying a wired connection. Closing unnecessary calls, uploads, and streaming can also help. There is no useful universal speed promise because stability, Wi-Fi conditions, the platform, and the devices all matter.
Finally, connect power or begin with a well-charged battery. A beautiful camera angle is not useful if the device has to be moved halfway through the lesson to reach a cable.
Three sensible levels of setup
Level 1: use what you have
Start with a phone, tablet, or laptop; a stable support; clear light; and the piano you normally use. Adjust the call's music setting and complete the test below. This is enough to begin if the test looks and sounds clear.
Level 2: solve one practical limitation
An adjustable stand, charging cable, or wired headphones may solve the first practical limitation. Add an existing second device only when another view is useful.
Level 3: improve a diagnosed audio or video problem
Consider an external microphone, interface, direct digital-piano audio, or dedicated camera only after the basic setup reveals a specific limitation. The equipment should make the lesson simpler to hear and see, not turn it into a studio session.
A five-minute check before the lesson
Use this sequence from the bench:
- Confirm that the call is using the intended camera, microphone, and speaker.
- Speak in a normal lesson voice, then listen through the platform's test or a brief call recording.
- Play softly and loudly in the middle register.
- Play low and high notes, then hold a chord with pedal and listen for missing sustain or distortion.
- Check that both hands, wrists, and forearms remain visible throughout the passage.
- If a second device is present, confirm that its audio is disconnected.
- Check power, headphones if used, and the stability of every stand.
The test should answer five questions: Can the teacher see the movement? Can they hear speech? Can they hear soft and loud playing? Does sustain remain present? Does the call stay stable? Upgrade only when one answer is consistently no.
Troubleshoot the symptom, not the shopping list
- Held notes disappear or the sound pumps: check noise suppression and the platform's music mode.
- Loud passages crackle or flatten: lower the input level if the device permits it, or move the microphone farther from the instrument.
- The fingers are visible but arm movement is hidden: widen or raise the side view.
- There is echo with two devices: disconnect audio completely on the second device.
- A digital piano is silent to the teacher: verify that actual audio, not only MIDI data, reaches the call.
- The picture freezes: reduce unnecessary video or network activity, improve the Wi-Fi position, or use a wired connection where possible.
The first setup does not need to be final. A lesson can reveal whether a different angle, setting, or microphone position would provide better evidence. That is a more reliable basis for a purchase than a generic equipment list.
Use the piano and device already available, complete the five-minute check, and note any part that fails. During a free 55-minute online trial lesson, we can check whether the view and sound are workable and refine them around the playing you want help with.
Sources and further reading
- Zoom Support: Setting up professional audio for Zoom Meetings, updated 26 August 2026.
- Zoom Support: Testing audio settings, managing audio echo, and troubleshooting Wi-Fi connections, accessed 30 August 2026.
- Microsoft Support: Use high-fidelity music mode to play music in Microsoft Teams, accessed 30 August 2026.
- Google Meet Help: Filter out noise from your meeting and check video and audio before a meeting, accessed 30 August 2026.
- Yamaha: Computer-related Operations, accessed 30 August 2026.
- MIDI Association: About MIDI, Part 1, accessed 30 August 2026.
- Shure: How to Choose the Best Mic for the Pianist, accessed 30 August 2026.